

How To Register With Microsoft Account
Lesson two: Creating a Microsoft Account
/en/microsoftaccount/all-about-your-microsoft-business relationship/content/
Introduction
Before you can utilize Microsoft's online tools and services, yous'll need a free Microsoft account.
In this lesson, yous'll learn how to create your own Microsoft account and how to navigate Microsoft's various online services. Y'all'll also learn how to customize your profile page.
Creating a Microsoft business relationship
If you have a Hotmail account or any business relationship that lets you use any other Microsoft service, like OneDrive or XBox Live, yous already accept a Microsoft business relationship—just sign in with your existing account information.
To create a Microsoft account:
- Become to login.alive.com. Locate and select Sign up now.
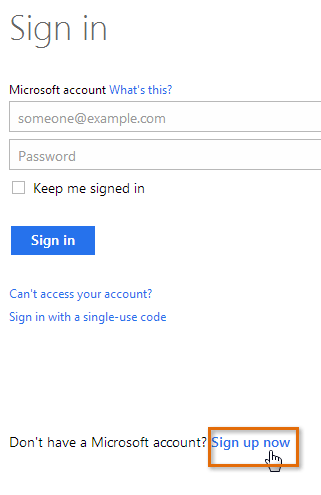 Clicking Sign up at present
- The sign upward course will appear. Follow the directions and enter the required information, such as your proper name, birth date, and gender.
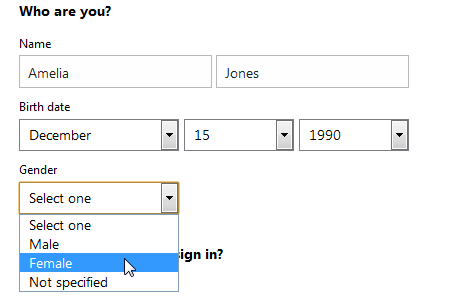 Inbound your information
 - Review the Microsoft Services Understanding and privacy statement, then click Create account.
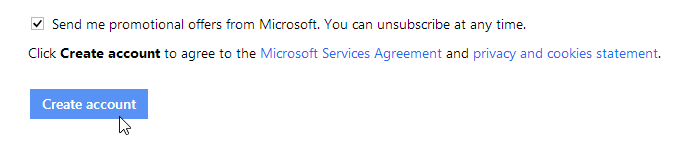 Clicking Create account
 - Your Microsoft account is now created, and the account settings folio will appear.
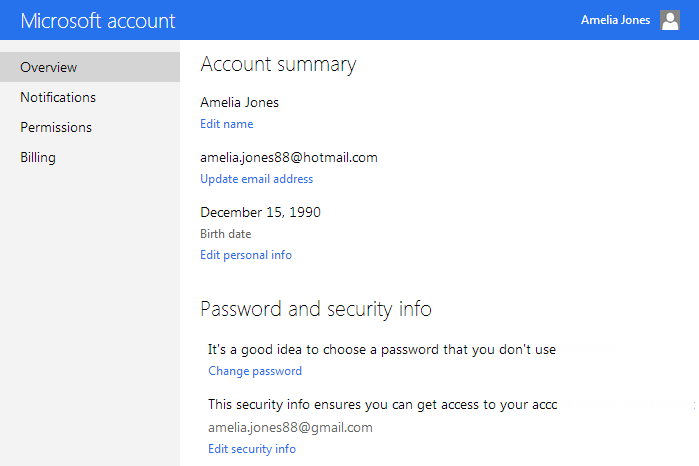 The Microsoft account settings page
Only like with whatever online service, it'south important to choose a strong countersign—in other words, one that is difficult for someone else to guess. For more information, check out our Countersign Tips lesson.
Getting started
After you lot create a Microsoft business relationship, you'll be taken to the Microsoft account settings page. To use the features and services of your Microsoft business relationship, such as OneDrive or Messenger, you will starting time need to access your contour folio.
To admission the profile page:
- Locate and select the profile icon in the superlative-right corner of the screen, then select Edit contour from the drop-down bill of fare.
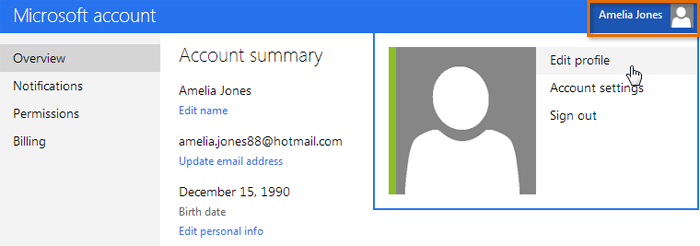 Accessing the profile page
 - The profile page will appear. From hither, y'all tin can admission the toolbar, which will aid you navigate Microsoft's online services.
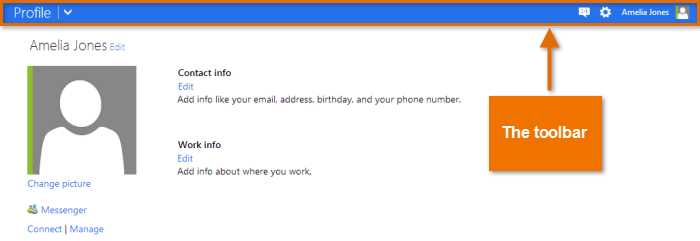 The profile folio
To use the toolbar:
- Click the drop-down pointer in the top-left corner to open up a carte du jour of Microsoft services: Mail (either Outlook or Hotmail), People (contacts), Calendar, and OneDrive (previously called SkyDrive). Simply click the service y'all desire to employ to get started.
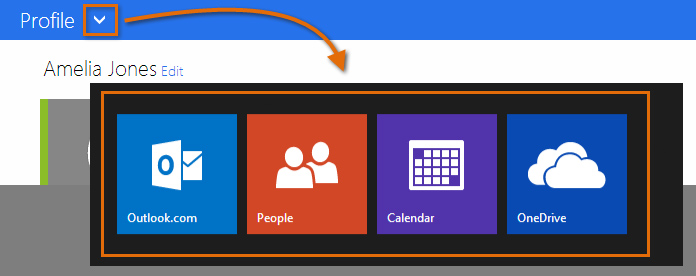 Using the drop-down arrow to access Microsoft services
 - Click the icons in the top-correct corner to access Messenger, your contour settings, and the Gear icon, which controls private settings for each Microsoft service.
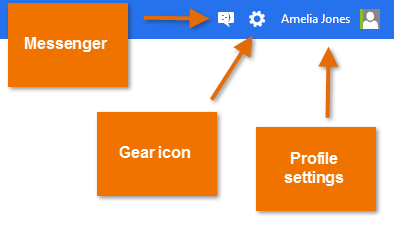 Superlative-right toolbar icons
Setting upwardly your profile
Once you've set upward your Microsoft account and get familiar with the toolbar, you might want to customize and add information to your personal profile.
As you learned in Lesson 1, your profile is a personal information page linked to your Microsoft account. Your profile tin can contain:
- Basic data, like your nascency appointment and gender
- Boosted contact information
- Personal information about your work, social life, and education
- Connections to social networking sites like Facebook
Filling in your profile is completely optional, and it's advisable not to add too much detailed personal information. Still, filling in a little information can be useful in some situations. Information technology's all well-nigh deciding how much you lot want to share.
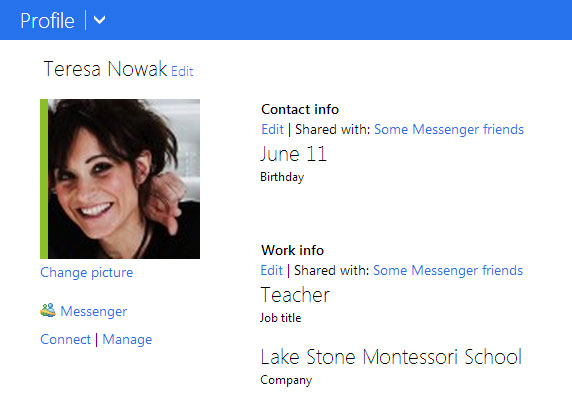 A profile with minimal information
To learn more most what personal data information technology's safe to include in your profile, bank check out our lesson on Smart Social Networking and Advice Tips.
- To admission and edit your contour, click the profile icon in the upper-right corner, and then select Edit profile from the drop-down bill of fare. Accessing the profile folio
To add together a profile movie:
- Navigate to your profile page, so locate and select Change pic.
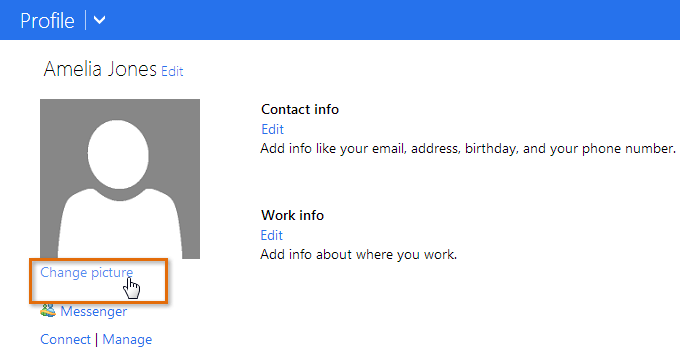 Changing a profile moving picture
 - The profile picture page will appear. Click the Choose File button.
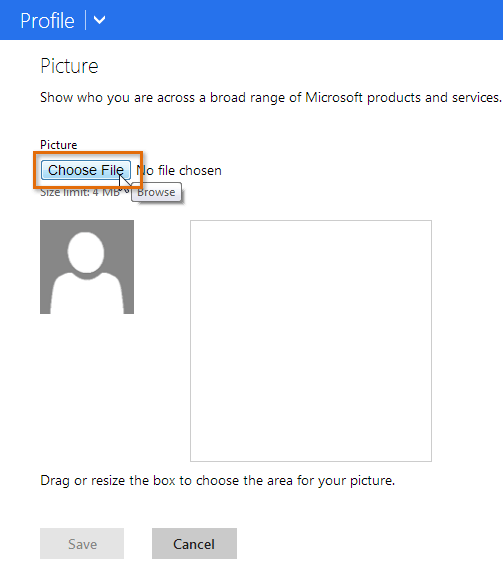 Clicking Choose File
 - A dialog box volition announced. Locate and select the desired motion picture, then click Open.
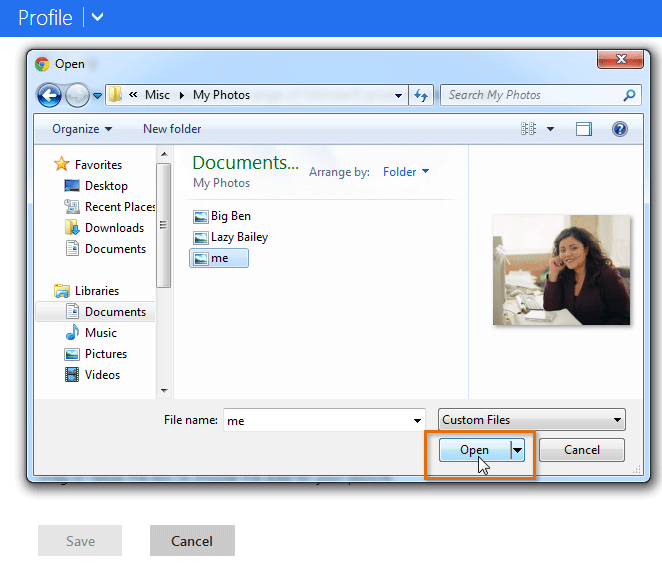 Selecting a profile motion picture
 - Your picture show will announced. If you desire, you can drag and resize the box to crop your epitome. As you lot ingather your picture, a preview of the cropped image will announced to the left.
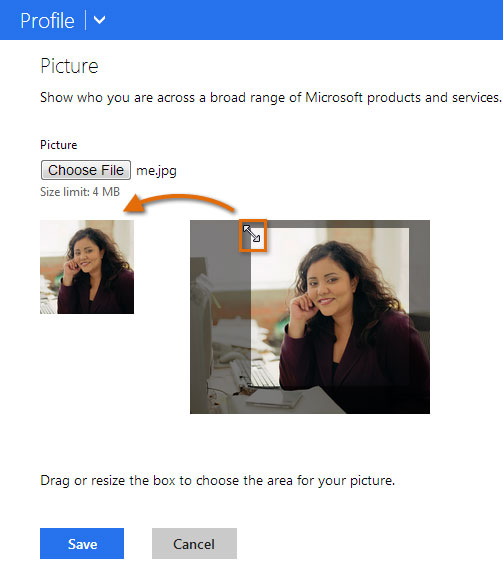 Cropping the picture
 - When you are satisfied with the cropped film, click Save. Your profile picture will be saved.
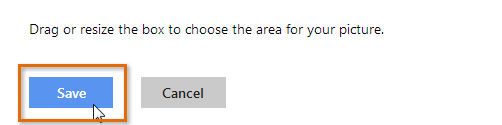 Saving the profile motion picture
/en/microsoftaccount/adding-and-managing-contacts/content/

How To Register With Microsoft Account,
Source: https://edu.gcfglobal.org/en/microsoftaccount/creating-a-microsoft-account/1/
Posted by: dennishouncest.blogspot.com
0 Response to "How To Register With Microsoft Account"
Post a Comment